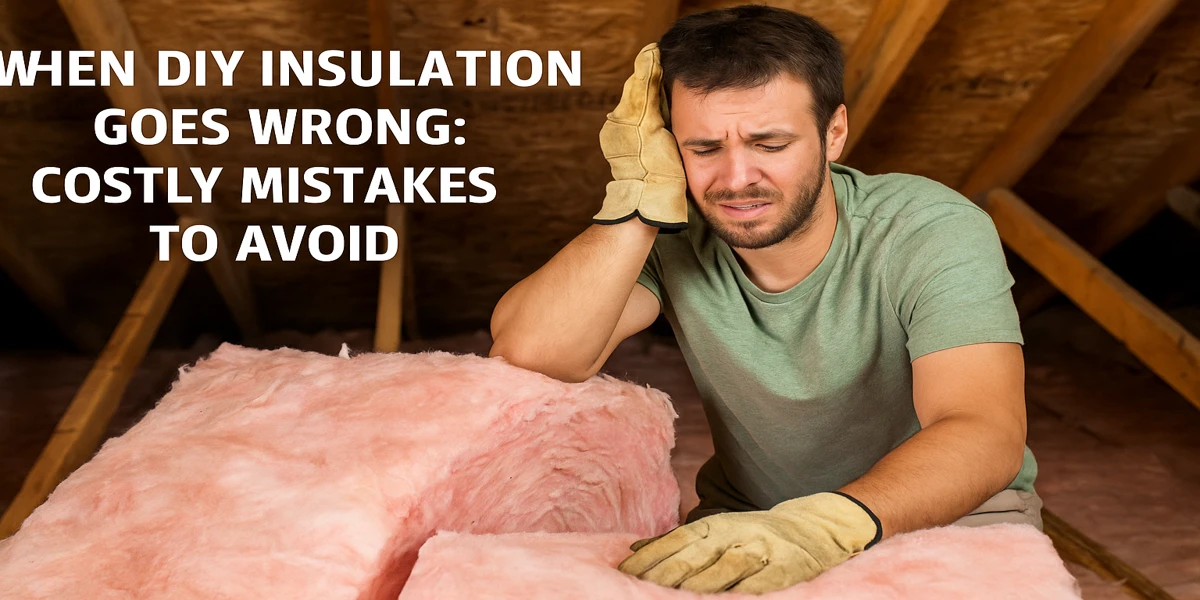
Insulation looks simple at first glance. A few rolls, a sprayer, a free weekend, and the house should feel better. Then winter hits, the bedrooms are still chilly, the attic smells damp, and the bills barely move. Most failures aren't about effort; they're about building science. The problems we see most often are the ones that quietly ruin performance and often cost more to fix than a professional install would have cost in the first place.
Why DIY Insulation Projects Fail
Insulation slows heat transfer, but air leaks and moisture can cancel that benefit completely. Many DIY jobs add fluff without sealing the holes, compress batts into the wrong spaces, or trap moisture behind the wrong barrier. Others block ventilation paths or place materials too close to heat sources. The result is a home that looks insulated but still feels uncomfortable.
The biggest misconception is that insulation is just about stuffing material into cavities. In reality, successful insulation requires understanding how air moves, where moisture comes from, and how different materials interact with your home's structure. Missing any of these elements can turn a weekend project into a costly repair job.
The Critical Mistake: Skipping Air Sealing
Warm air escapes through gaps around can lights, bath fans, attic hatches, top plates, wire penetrations, and duct chases. If those paths remain open, new insulation becomes a blanket with holes. Comfort suffers and dust trails show up across the attic, revealing exactly where your conditioned air is escaping.
The right sequence is simple but crucial: seal first, then insulate. Caulk, foam, gaskets, and weather-stripping close the common leaks, and only then does added R-value make a clear difference. Many DIY projects fail because homeowners rush to the insulation step without addressing the air leakage that undermines all their hard work.
Professional installers spend significant time on air sealing because they know it's often more important than the insulation itself. A house with moderate insulation and excellent air sealing will outperform one with premium insulation and poor air sealing every time.
Compressed Batts and Sloppy Installation
Batts are rated at full loft, which means they need room to breathe. When they're stuffed into a shallow cavity, folded around plumbing, or jammed behind wires, their performance drops dramatically. Gaps, voids, and sloppy cuts leave cold stripes that drag down the performance of the entire wall or ceiling.
A proper installation fits like a tailored suit. Cavities are filled completely, odd corners are addressed carefully, and wires or pipes are split around rather than crushed beneath insulation. This attention to detail makes the difference between insulation that works and insulation that disappoints.
The temptation to rush through installation often leads to these problems. What looks like a minor gap or compressed area can create significant thermal bridges that allow heat to flow freely, negating much of your insulation investment.
Ignoring Thermal Bridging
Framing is a conductor, not an insulator. Even with perfect batts, heat moves through studs, plates, and rim boards. That's why walls with only cavity insulation underperform, especially at corners and headers. DIY projects often ignore this reality, focusing only on filling the obvious spaces between framing members.
Where possible, continuous rigid foam or a well-sealed exterior sheathing layer helps break the thermal bridge. Interior details like careful drywall sealing also reduce drafts that ride along these structural members. Professional installations account for thermal bridging in their design, while DIY projects typically don't.
Moisture Control Gone Wrong
Trapping vapor on the wrong side of an assembly creates mold and rot risks that can damage your home's structure and your family's health. Plastic sheeting where the wall needs to dry, kraft facing installed backwards, or a sealed crawlspace with no moisture plan all invite serious trouble.
Moisture follows temperature and pressure differences, and it's more complex than many DIY guides suggest. Smart vapor retarders and assemblies that can dry to at least one side keep materials safe. In mixed climates like ours, controlling air movement is often more important than chasing a perfect vapor barrier.
Many DIY disasters start with well-intentioned homeowners who install vapor barriers in the wrong location or use the wrong materials for their climate. The consequences can take years to appear, making these mistakes particularly costly.
Ventilation and Airflow Problems
A vented attic needs clear air paths from soffit to ridge to function properly. DIY projects often bury the eaves with insulation, blocking intake vents and turning the attic into a humid oven. This creates ice dams in winter, excessive heat in summer, and moisture problems year-round.
The fix is straightforward in concept but requires careful execution. Install proper baffles at the eaves, keep ventilation channels clear, and only then add insulation. If converting to an unvented, sealed roof deck with spray foam, you need to follow the complete assembly rules rather than mixing vented and unvented approaches.
Ventilation mistakes are common because they're not immediately obvious. The problems develop over time, and by then, fixing them often requires removing and reinstalling insulation.
Safety Hazards and Code Violations
Not every recessed light is insulation-contact rated, and metal flues require specific clearances. Insulation or foam against the wrong fixture creates a real fire hazard that puts your home and family at risk. Many DIY projects inadvertently create these dangerous situations.
The safe path requires verifying IC/AT ratings on light fixtures, using code-approved covers where needed, maintaining listed clearances around chimneys and B-vents, and applying ignition or thermal barriers where spray foam rules require them. A professional installation protects both comfort and safety.
Building codes exist for important reasons, and insulation work involves several safety considerations that aren't always obvious to homeowners. Ignorance of these requirements can create liability issues and dangerous conditions.
DIY Spray Foam Disasters
Two-component spray foam kits seem easy until they're not. Off-ratio foam from cold tanks, improper gun speed, or poor mixing creates foam that cures soft or brittle, shrinks back from studs, and leaves voids that leak air. The material becomes expensive to remove and redo, often requiring professional remediation.
Large roof decks, big crawlspaces, and whole-home spray foam projects are best left to certified crews who understand how to manage temperature, spray thickness, and ventilation requirements. Professional spray foam installation requires specialized equipment, training, and experience that can't be replicated with consumer-grade kits.
The chemical nature of spray foam also creates health and safety concerns during installation. Professional installers use proper protective equipment and ventilation procedures that most homeowners aren't equipped to handle safely.
When Water Meets Insulation
Insulation plus water equals disaster. Roof leaks, damp crawlspaces, or sweating ductwork turn batts and loose fill into soggy masses that lose all thermal performance. Wet insulation also creates ideal conditions for mold growth and can damage surrounding materials.
The sequence matters here too: fix the moisture source first, let the assembly dry completely, and only then install new insulation. In crawlspaces, this means controlling groundwater, air sealing the rim joists, and considering wall insulation with proper vapor barriers.
Many DIY projects fail because homeowners don't identify and address moisture sources before installing insulation. The result is repeated failures and increasingly expensive fixes as water damage spreads.
The True Cost of DIY Mistakes
Repair costs vary by region and scope, but they add up quickly. Air sealing and attic corrections often cost hundreds to low thousands of dollars. Rim-joist sealing and crawlspace encapsulation move into the thousands, especially when moisture remediation is needed. Removing failed spray foam and starting over can reach mid-four figures or higher for large areas.
The hidden costs include continued energy waste, comfort problems, and potential health issues from mold or indoor air quality problems. There's also the opportunity cost of time spent on projects that don't deliver expected results.
Most professionals find that spending once on the right approach costs less than paying multiple times for patchwork repairs and corrections.
When DIY Makes Sense and When It Doesn't
Homeowners can handle certain tasks effectively: weather-stripping doors, sealing attic hatches, caulking minor gaps, installing outlet gaskets, and placing soffit baffles. These projects are straightforward, low-risk, and don't require specialized knowledge or equipment.
Complex attics, unvented roof conversions, anything near flues or non-IC rated lights, damp crawlspaces, and spray foam applications belong with professionals. These projects require building science knowledge, specialized tools, and experience with code requirements.
A reputable contractor will assess your specific situation, model expected savings, plan moisture management, follow all applicable codes, and document the work for your records and future resale value.
Smart Next Steps for Your Home
Start with a professional energy assessment to identify the biggest opportunities for improvement. This assessment can guide your decisions about which projects to tackle yourself and which require professional expertise.
Focus on the basics first: obvious air leaks, moisture sources, and safety issues. These foundational improvements often provide the biggest returns and set you up for success with more complex projects later.
Keep detailed records of any work you do, including before and after photos, product data sheets, and receipts. If you hire professionals, make sure they provide comprehensive documentation including any testing results.
Remember that the goal isn't just adding insulation; it's creating a complete thermal envelope that delivers steady indoor temperatures, lower energy bills, and a home that shows well when it's time to sell. Sometimes the best DIY decision is knowing when to call in the professionals.
Need Professional Insulation Help?
Get a free evaluation from insulation experts who understand building science, safety requirements, and long-term performance.
Schedule Your Professional Assessment